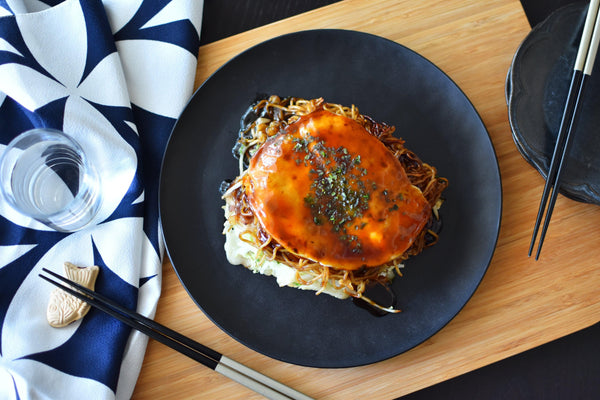
How To Make Hiroshima-Style Okonomiyaki At Home
Okonomiyaki is a beloved Japanese dish often prepared on an iron plate. While it's a common homemade meal, Japan boasts numerous Okonomiyaki specialty diners and restaurants. We previously showed you how to make Osaka (Kansai)-style Okonomiyaki, so this time we'll be sharing the Hiroshima-style Okonomiyaki.
Both Osaka and Hiroshima-style Okonomiyaki, despite their regional names, are enjoyed throughout Japan. The key ingredients for both include all-purpose flour, cabbage, pork, and egg. Now, let's explore the differences between these two variants.
The primary distinction lies in how the ingredients are incorporated into the dish. Osaka-style Okonomiyaki involves mixing the ingredients into the batter before cooking, resulting in a texture similar to a pancake. In contrast, Hiroshima-style Okonomiyaki keeps the ingredients separate. The batter is transformed into a thin, crepe-like round shape, and each component is cooked individually. Afterward, the ingredients are layered, akin to a mille-feuille pastry. This layering method steams the cabbage and bean sprouts to perfection, delivering a delightful, crisp texture.
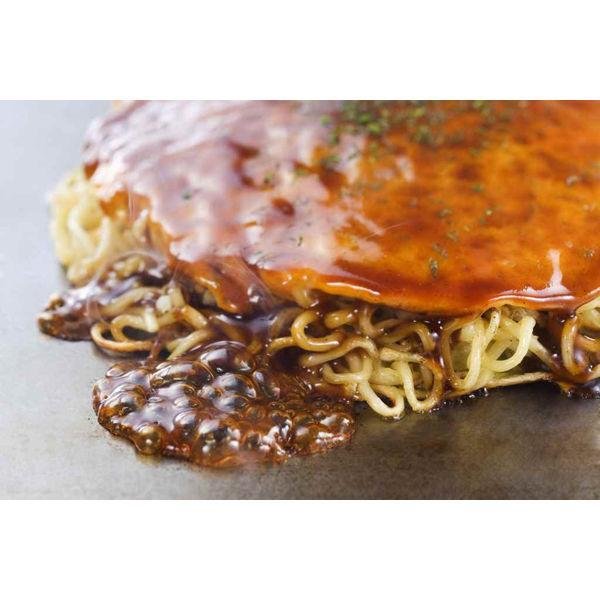
An iconic addition to Hiroshima-style Okonomiyaki is stir-fried noodles or yakisoba. This ingredient contributes to its substantial and satisfying appeal.
In this recipe, we'll guide you through creating Hiroshima-style Okonomiyaki at home, complete with useful tools and products. Why not try making both Hiroshima-style and Kansai-style Okonomiyaki at home to explore the differences? It's sure to be a fun culinary adventure.
Share your homemade Okonomiyaki experiences in the comments below, and let us know which type you prefer!
Overview
Prep time: 20 mins
Cook time: 20 mins
Total time: 40 mins
Total servings: 1
Difficulty: Easy
Ingredients
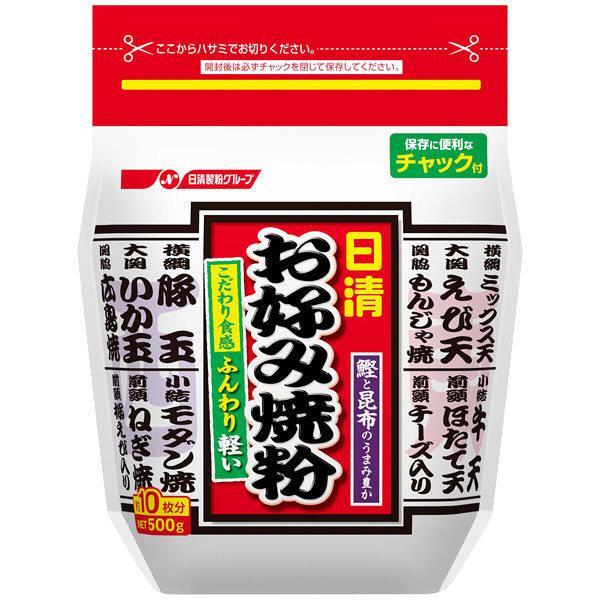
- 30g All Purpose Flour
- 500ml Water
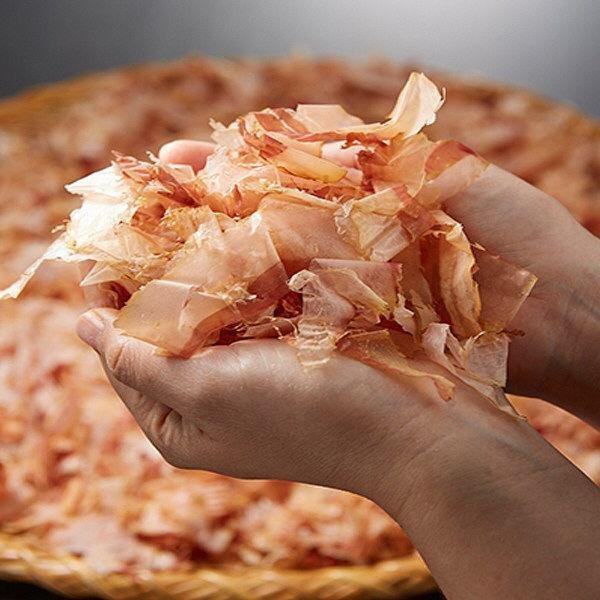
- 20g Dried Bonito Flakes
- 100g Cabbage
- 20g Bean Sprouts
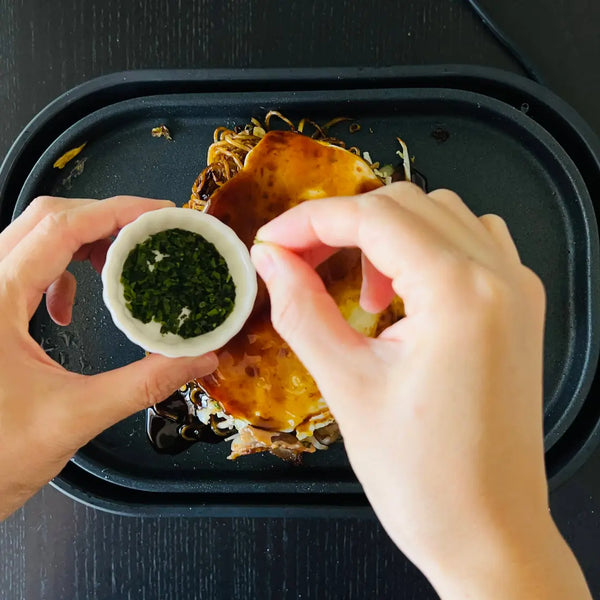
- 10g Chopped Green Onion
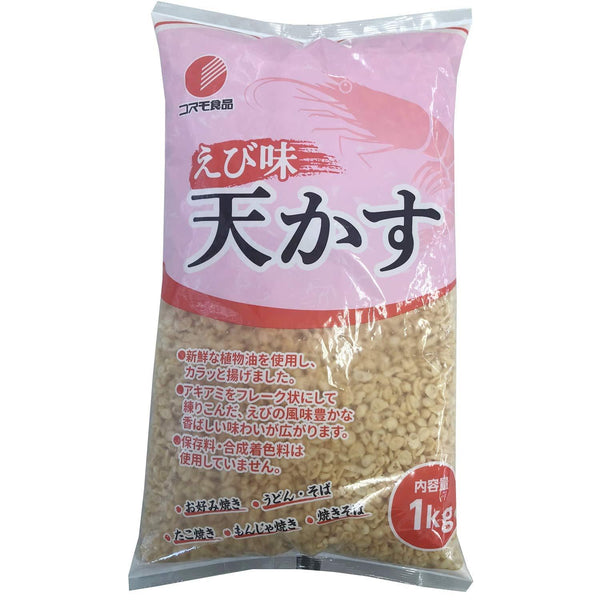
- 5g Tempura Bits (Tenkasu)
- 60g Sliced Pork Belly
- 1 Package (150g) Yakisoba Noodles & the included Seasoning
- 1 Egg
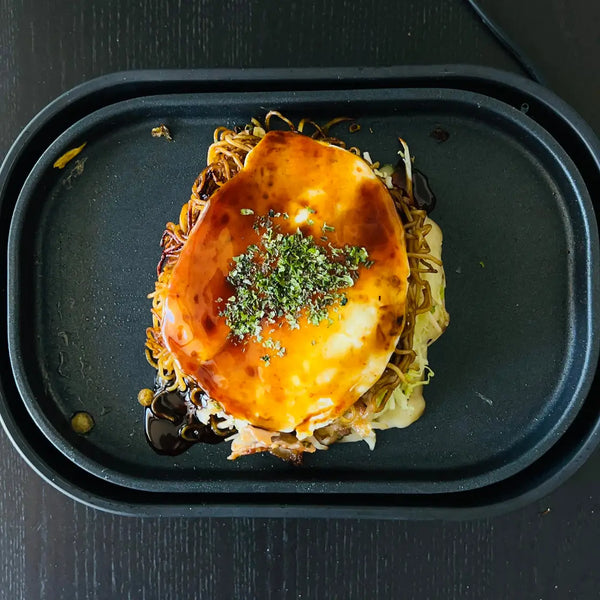
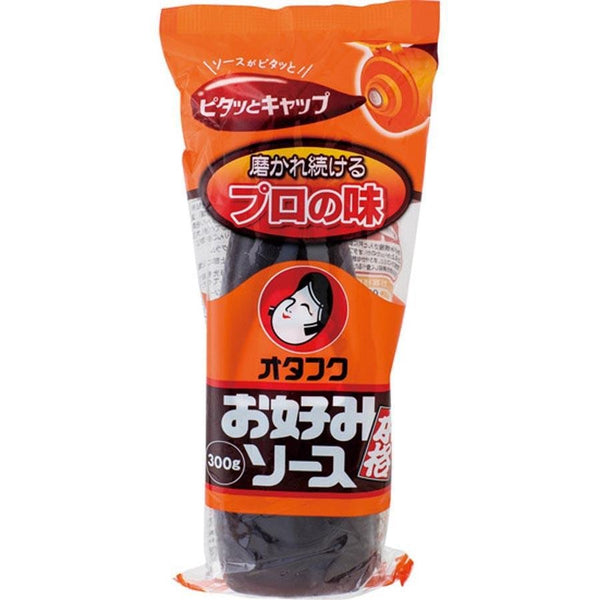
- Okonomiyaki Sauce, as needed
- Dried Aonori Seaweed, as needed
Expert's Tip
Instructions
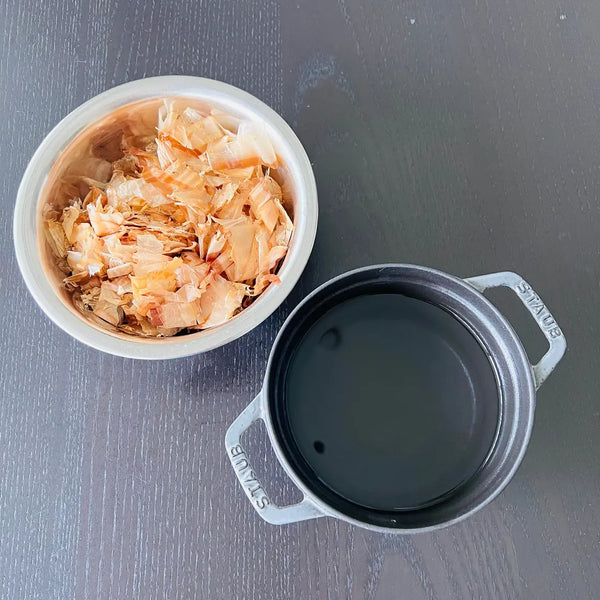
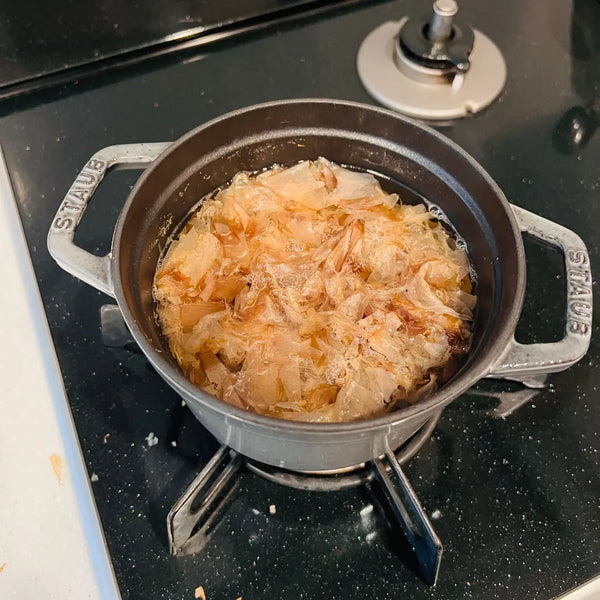
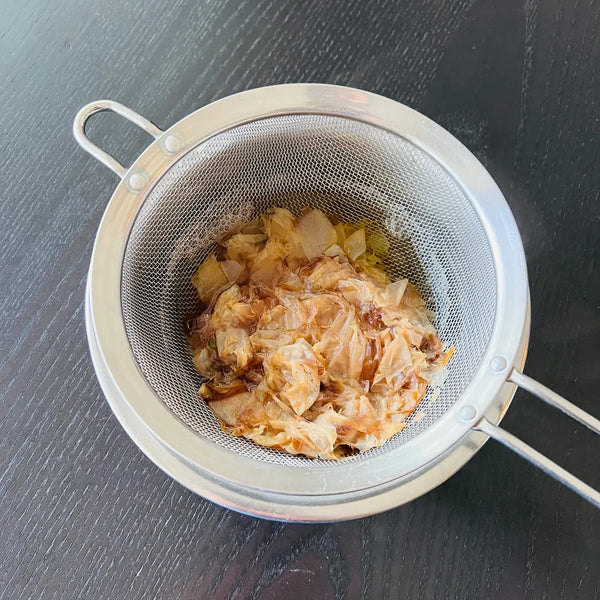
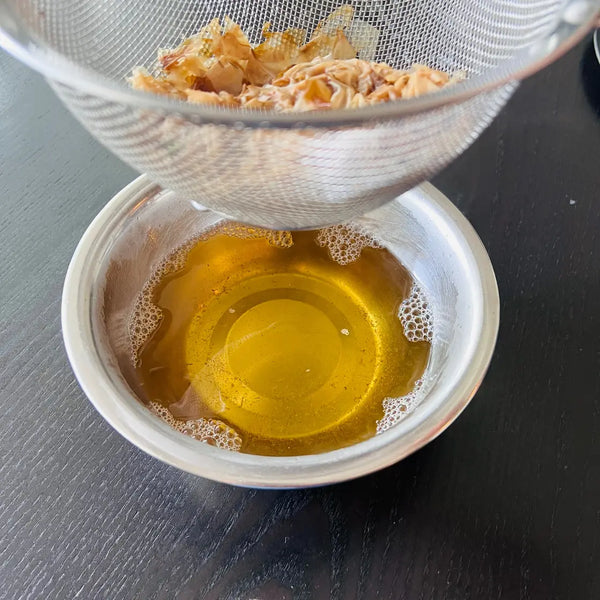
1) Advanced Preparation
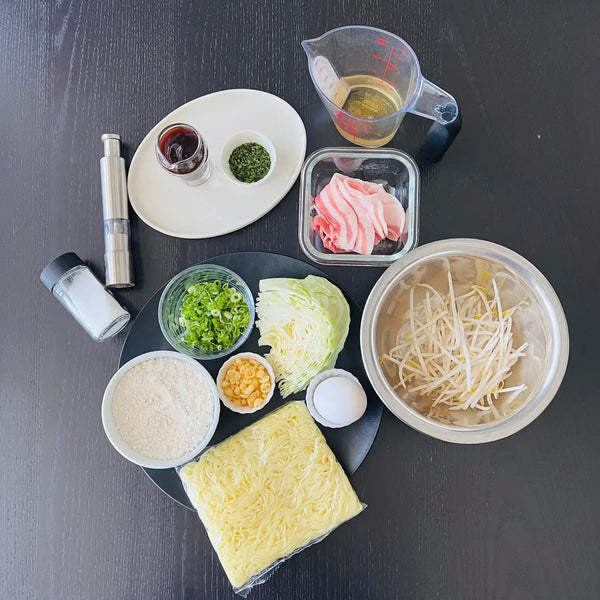
2) Gathering the Ingredients
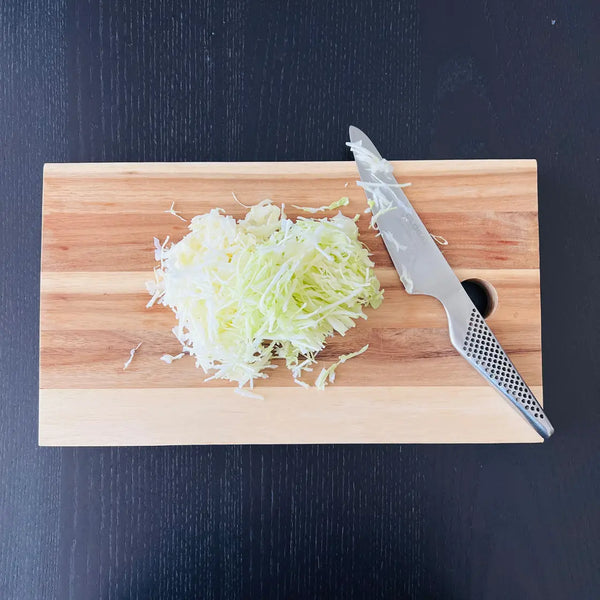
3) Slicing the Cabbage & Pork Belly
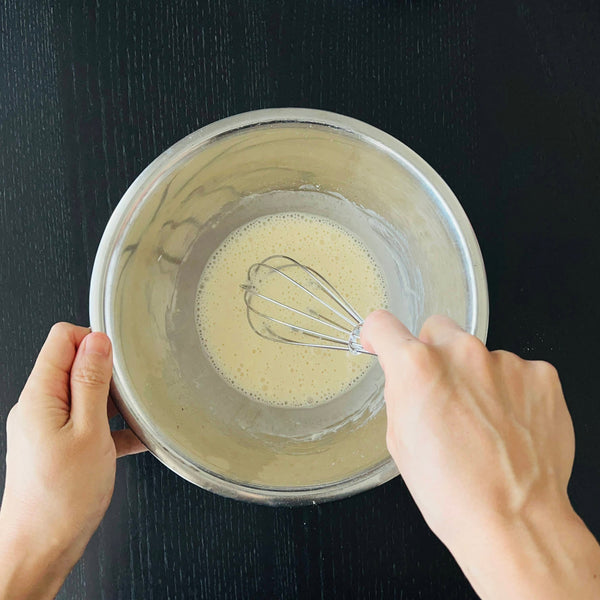
4) Preparing the Okonomiyaki Batter
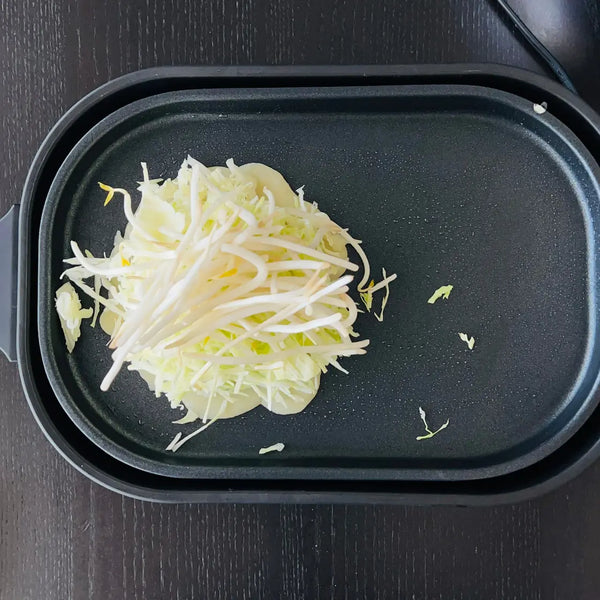
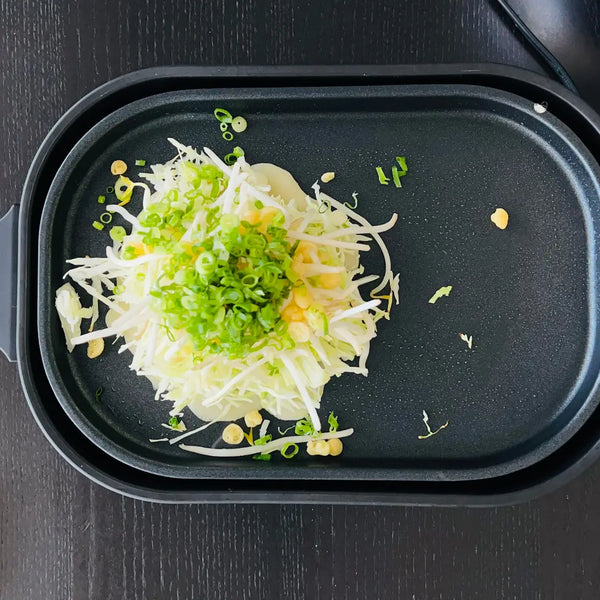
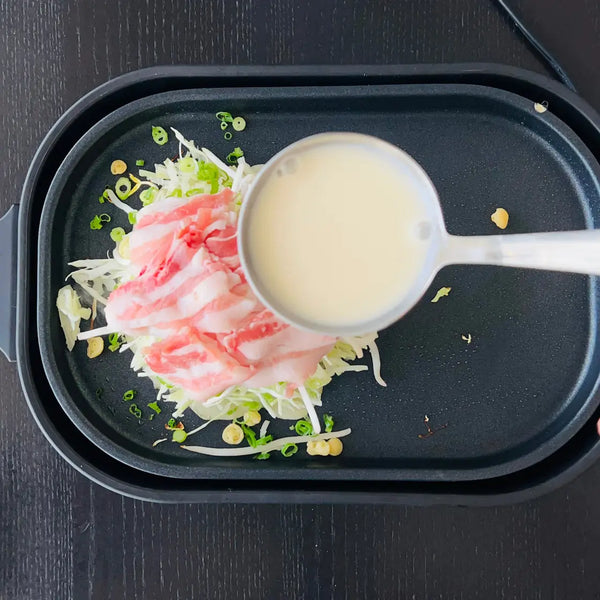
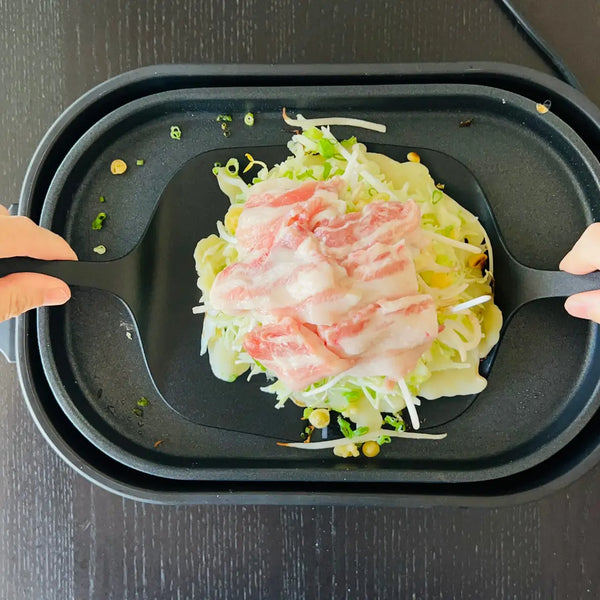
5) Cooking Each Ingredient on an Iron Plate
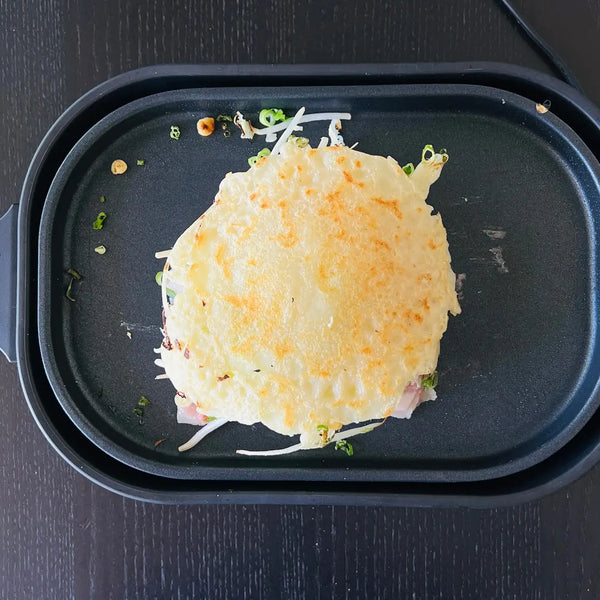
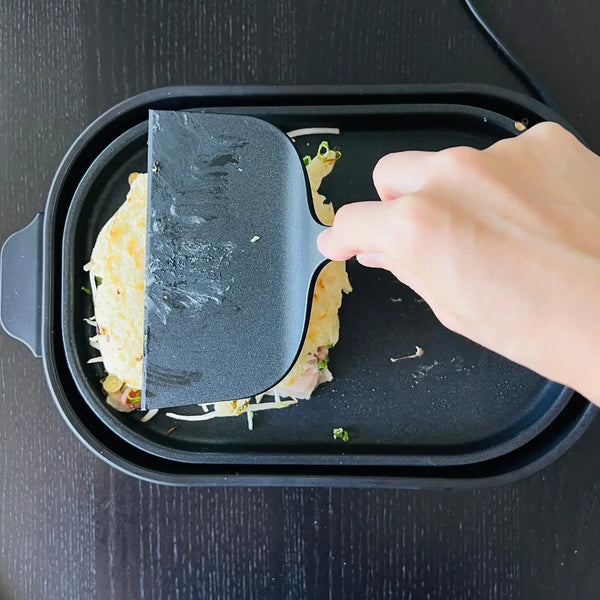
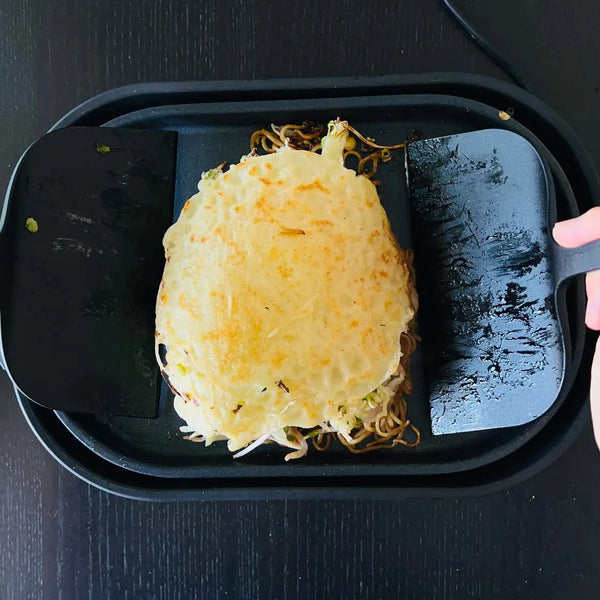
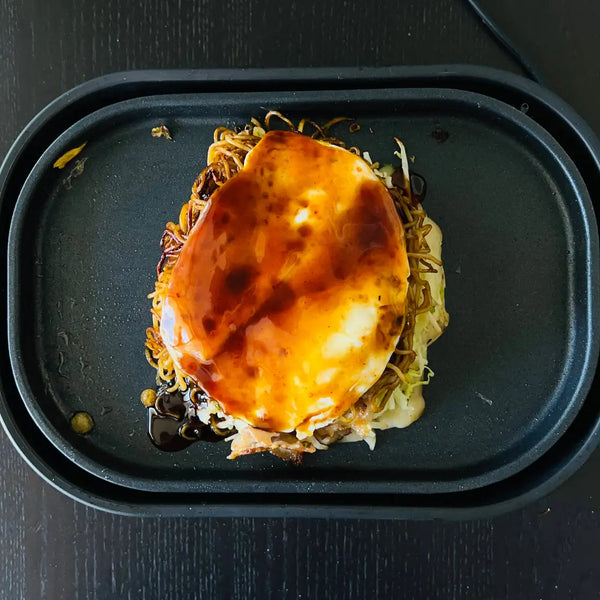
6) Flipping the Okonomiyaki

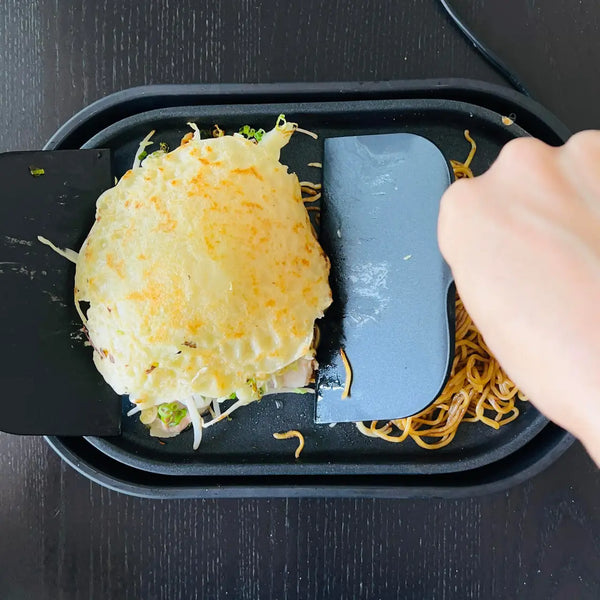
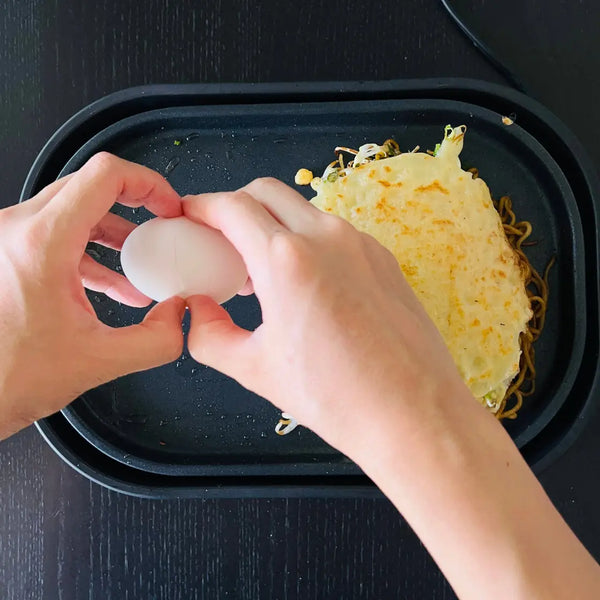
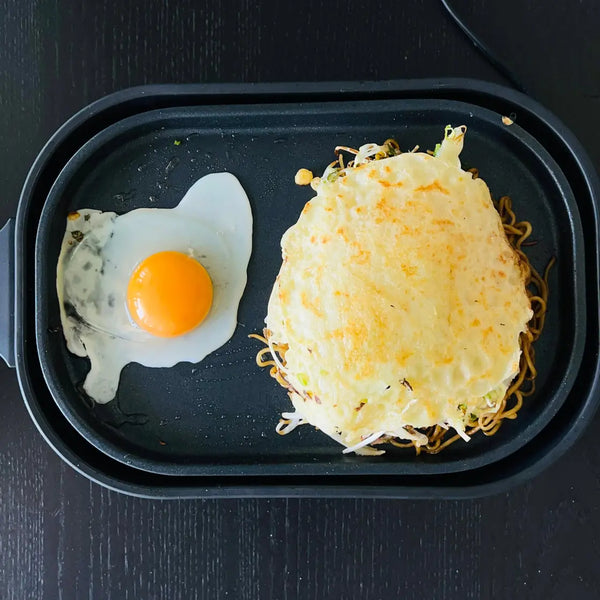
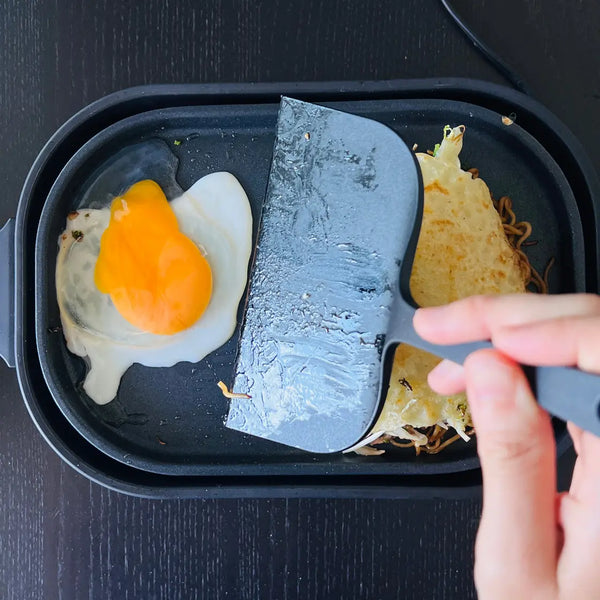

7) Cooking the Stir-Fried Noodles and Egg

0 comments